Banana Ice Cream
When I'm not working, mingling at my local watering hole or stumbling upon hidden nooks of New York City, I'm in my kitchen churning out one-ingredient ice cream without a machine. Because why have just a banana when you can have banana ice cream?
 Here's what you'll need to make about 5-6 servings:
- 4 ripe bananas
Begin by peeling the bananas and slicing them into small pieces.Place the sliced bananas in a bowl.
Place the bowl in the freezer for at least two hours until they're frozen through.
After the banana pieces are frozen, put them into the food processor for a few minutes until you get a cold creamy mixture that resembles the consistency and texture of ice cream.
In the meantime, I'll be in Fieldhouse Kitchen churning this by hand because my kitchen easily has less equipment than a caveman's cave does. Here's what to do if you don't have a food processor.
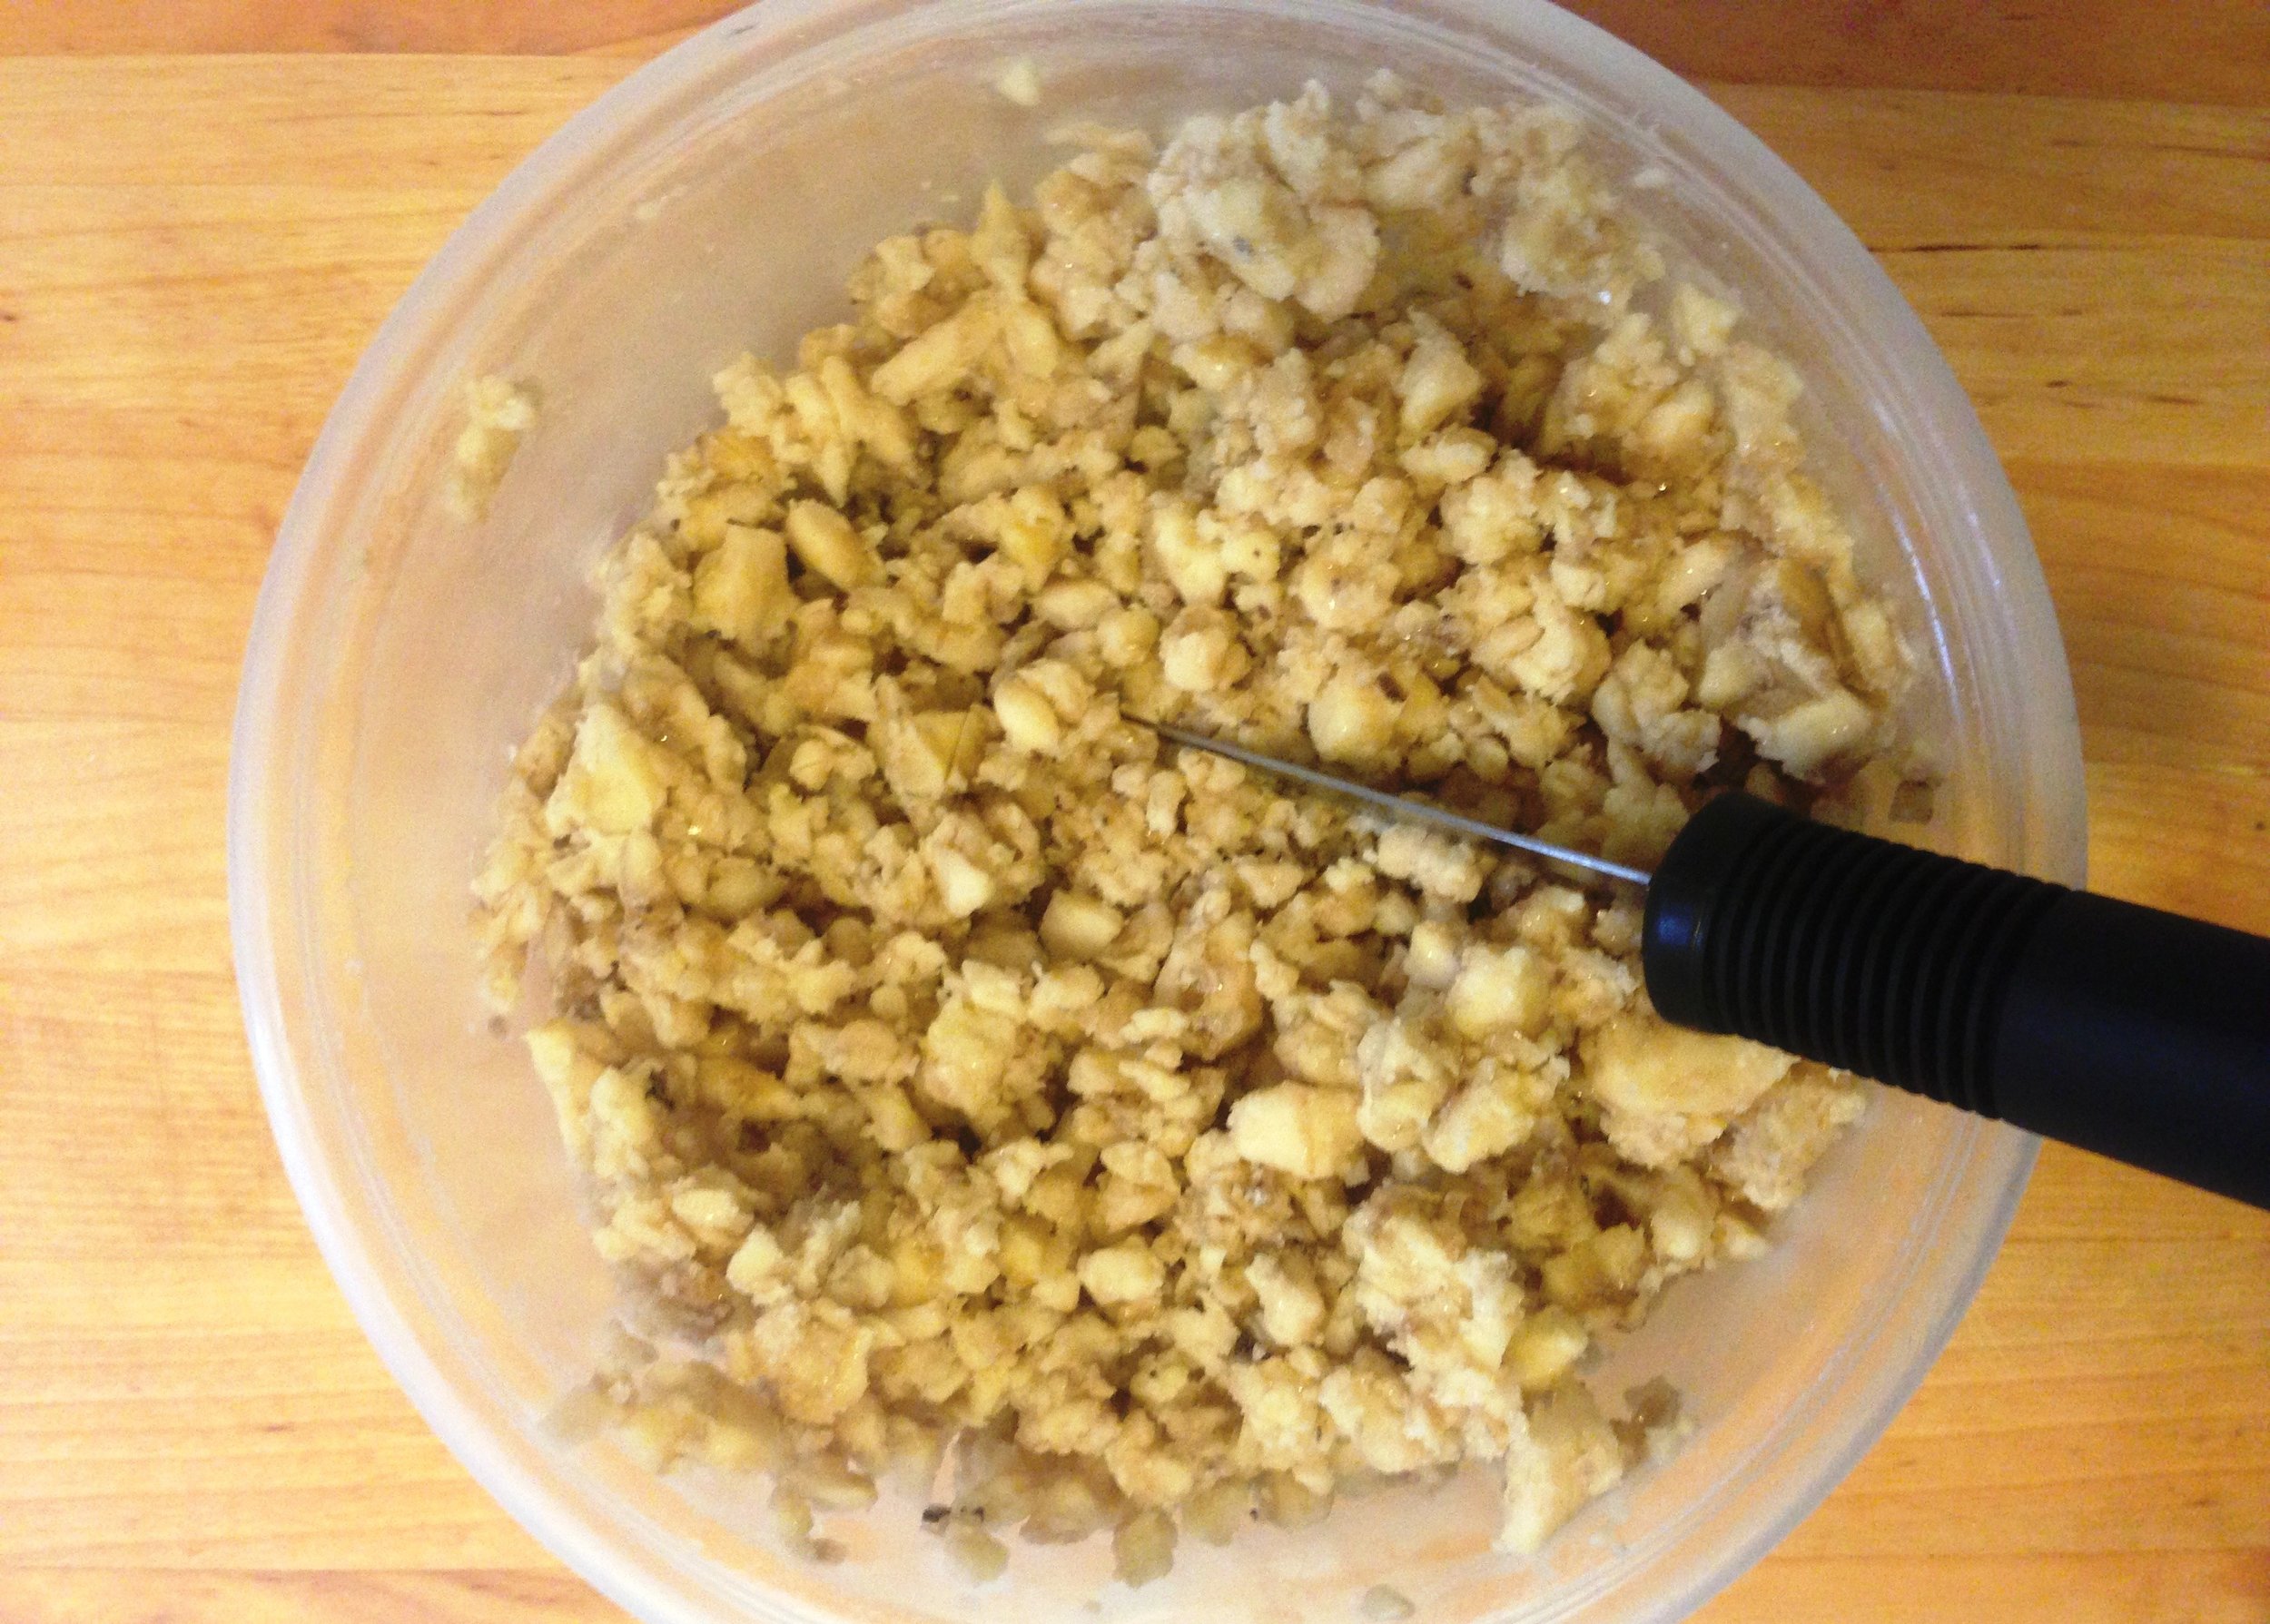
Run your knife through the slightly thawed banana pieces in the bowl until you get small chunks. Place this back in the freezer and repeat until you have nearly granulated pieces. I typically do this three times. The key here is to make sure the bananas don't melt, but that they stay in small frozen pieces. The next step involves actual churning.
Fill a mug about halfway with the small banana pieces and stir with a fork for about a minute until the consistency melts slightly and starts to blend together into a creamy consistency. This is the part where you can add a teaspoon of peanut butter, cocoa powder or any other additives you desire. Voila! You've made ice cream, caveman style!
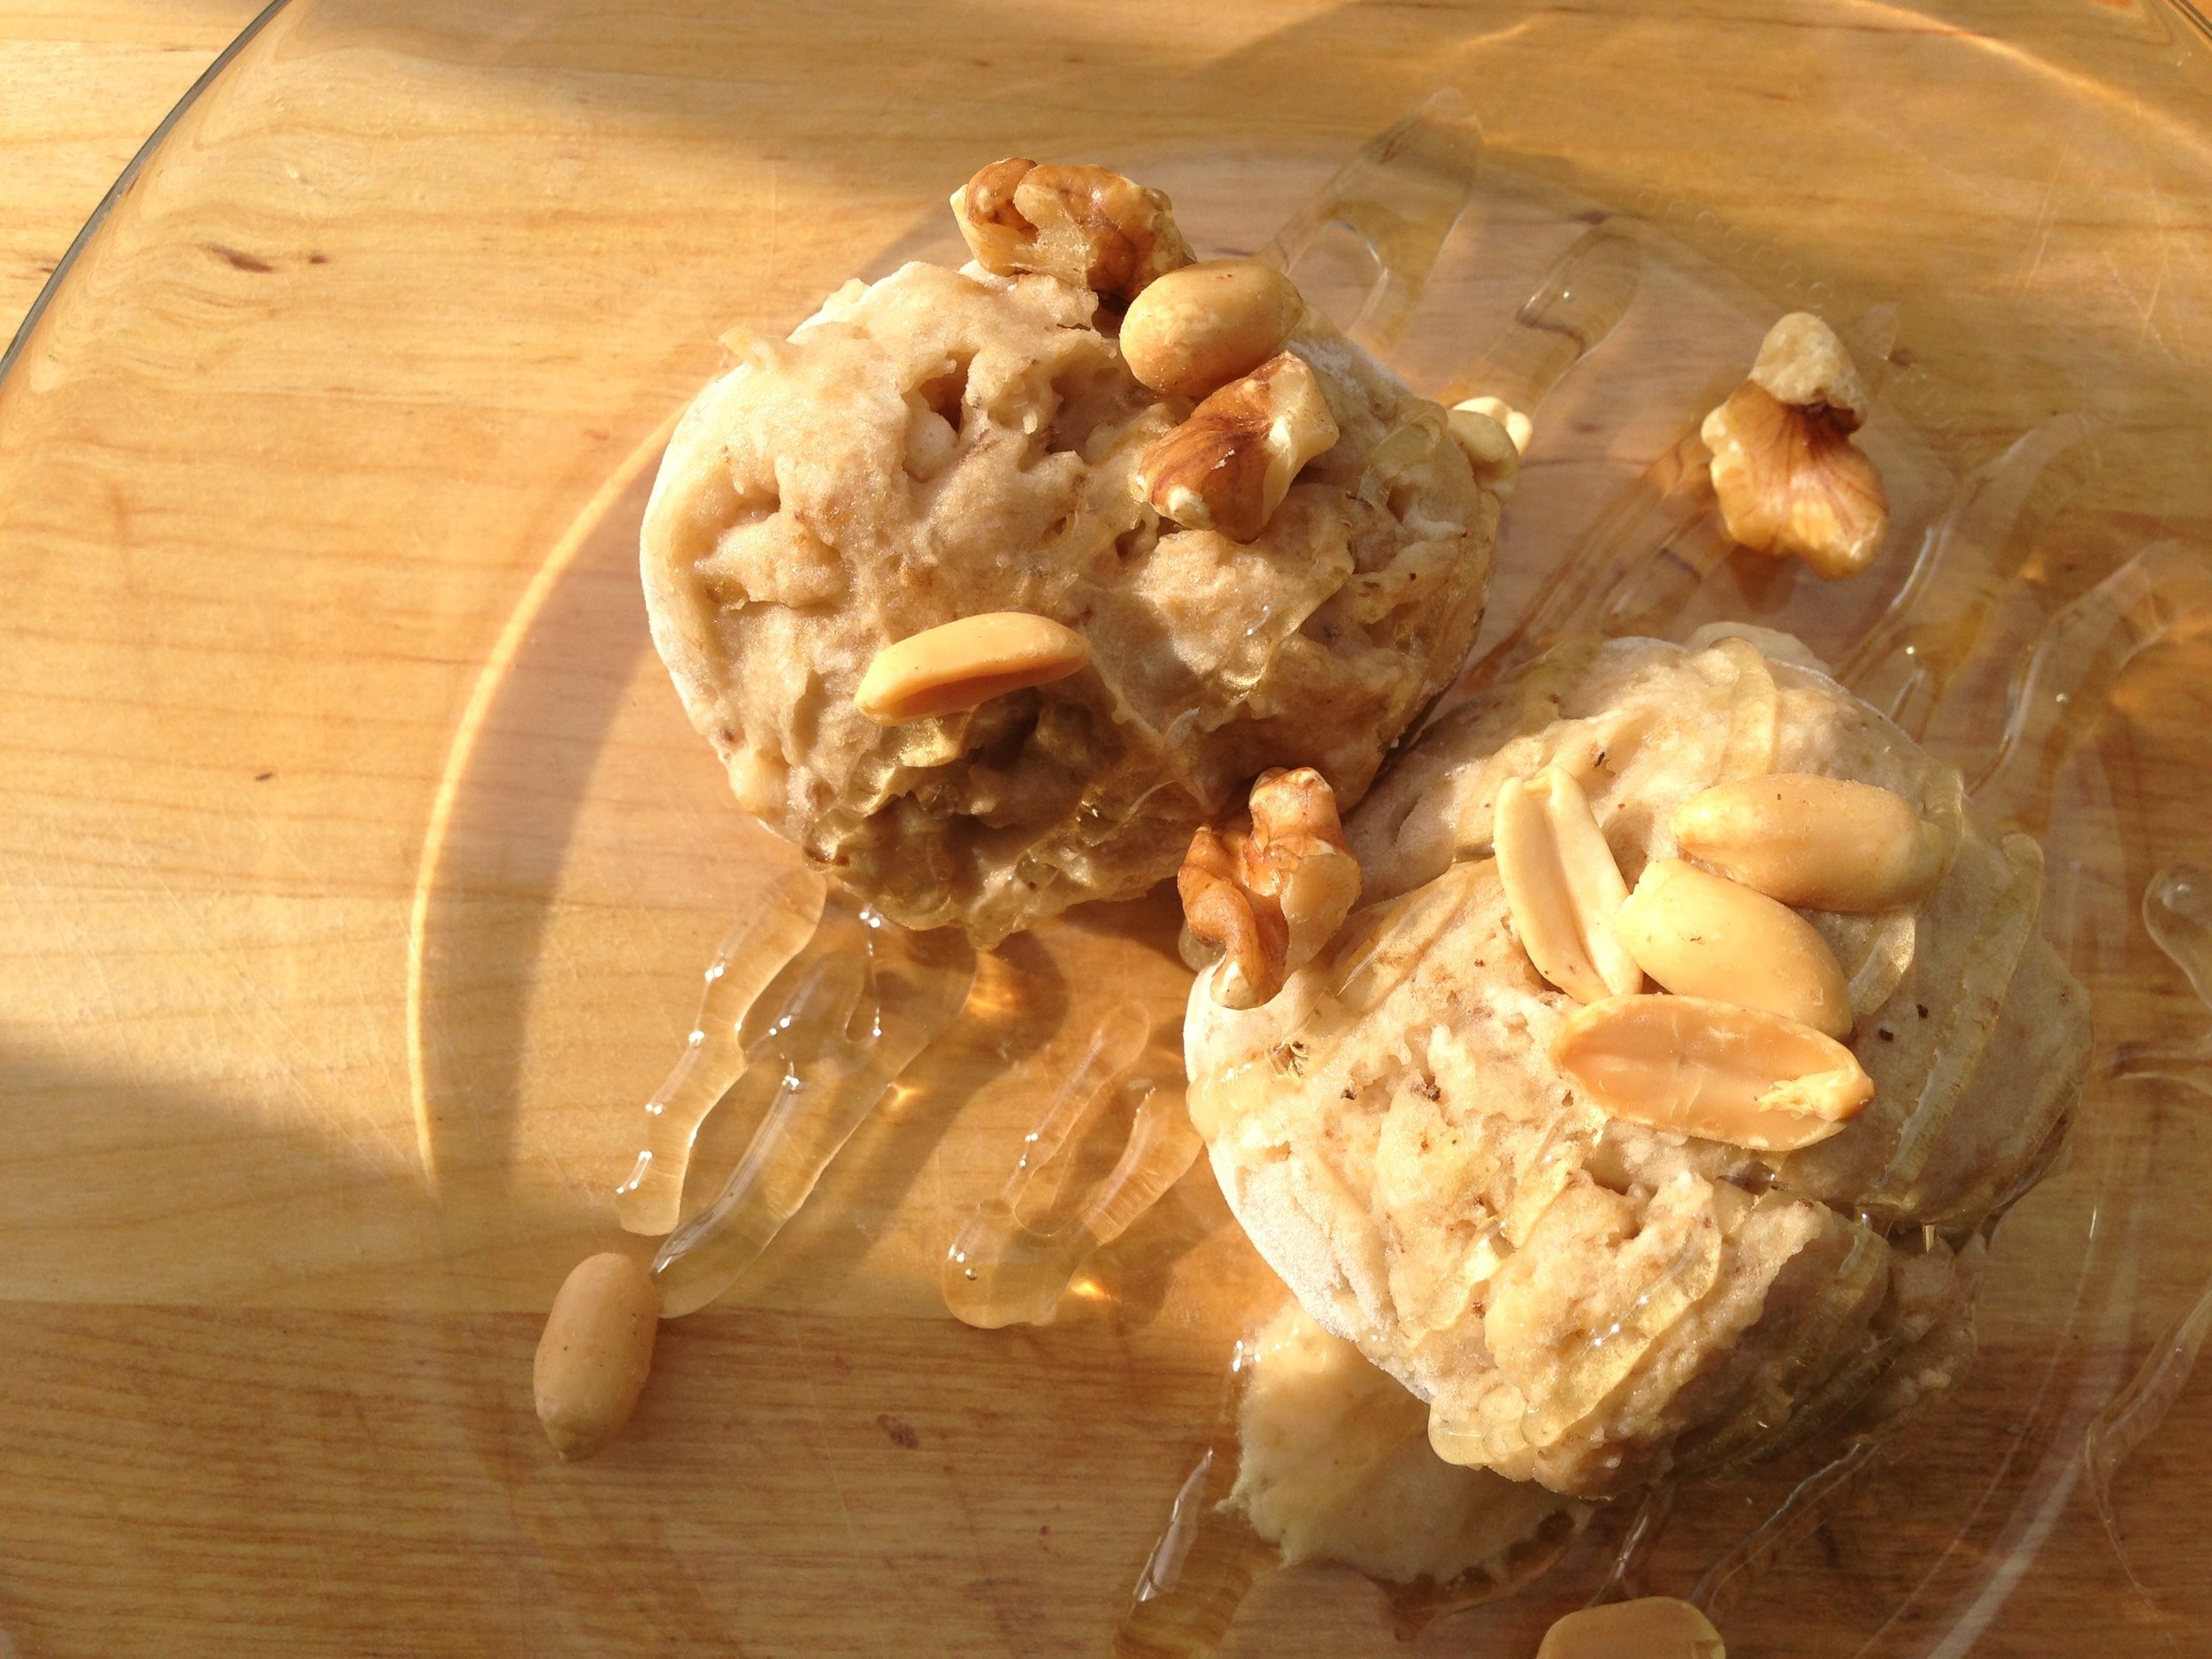
Top the ice cream with toasted nuts, honey -- or my favorite, pure Vermont maple syrup!
Fieldhouse Fun Fact: If you're thinking I have a Fieldhouse field day in a kitchen that's properly equipped... I do. But I tend to shy away from the food processor in general. It takes me at least five minutes to figure out how all those plastic pieces fit together so that the machine can actually turn on.


